Connecting an RSS feed to your Facebook Page with automation can be a total game-changer for keeping your social content fresh and engaging.
It streamlines the process, ensuring your latest blog posts or news articles pop up directly on your Facebook feed without the fuss of manual updates. This not only saves you a heap of time but also keeps your audience in the loop with real-time updates, boosting your page's activity and reach.
Learn how to use a Zap—Zapier's automated workflows—to automatically post new items from your RSS feed to your Facebook Page.
New to Zapier? It's workflow automation software that lets you focus on what matters. Combine user interfaces, data tables, and logic with 6,000+ apps to build and automate anything you can imagine. Sign up for free.
How to post new RSS items to Facebook
Zapier lets you create automated workflows called Zaps, which send your information from one app to another. You can create your own Zap from scratch without any coding knowledge, but we also offer quick templates to get you started.
If you'd like to start with a template, click on the Zap template to go to the Zap editor. You'll need to create a Zapier account if you don't already have one. Then, follow the directions below to set up your Zap.
Set up your RSS By Zapier trigger
First, set up your trigger—the event that starts your Zap. If you're using the Zap template, the trigger app and event will already be selected for you. Otherwise, search for and select RSS by Zapier as the trigger app and New Item in Feed as the trigger event. Click Continue.

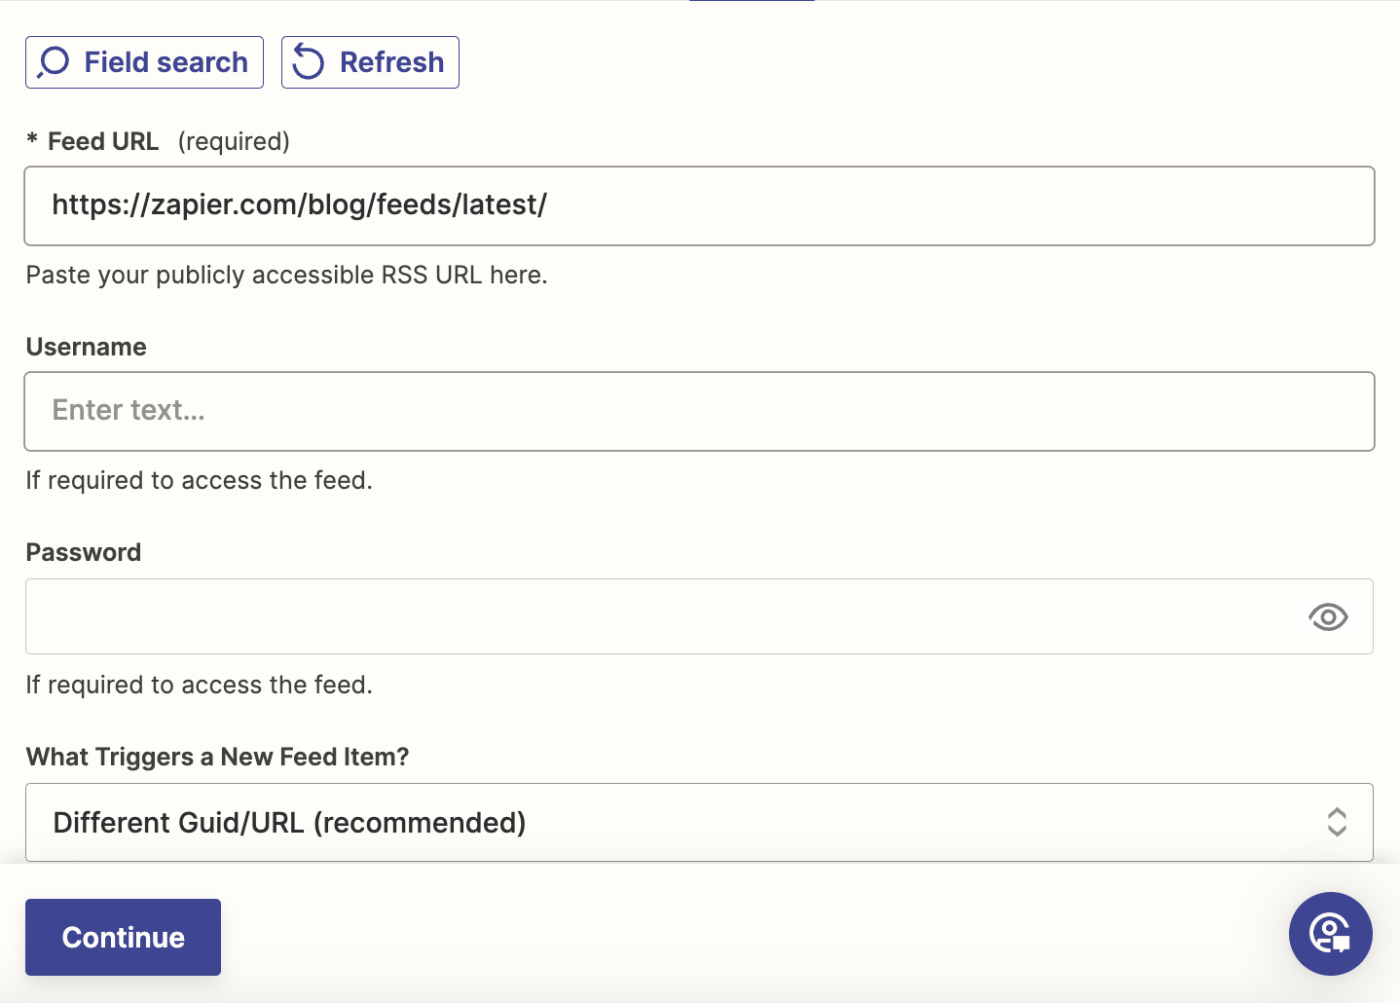
Next, it's time to customize the trigger. Paste the RSS feed URL in the Feed URL field. If the feed is password protected, you can provide the Username and Password in their respective fields.
Lastly,select an option in the What Triggers a New Feed Item? field. We recommend you leave the default option of Different Guild/URL (recommended), but you can select another option if you're a more advanced user.
Once you're done customizing your trigger step, click Continue.
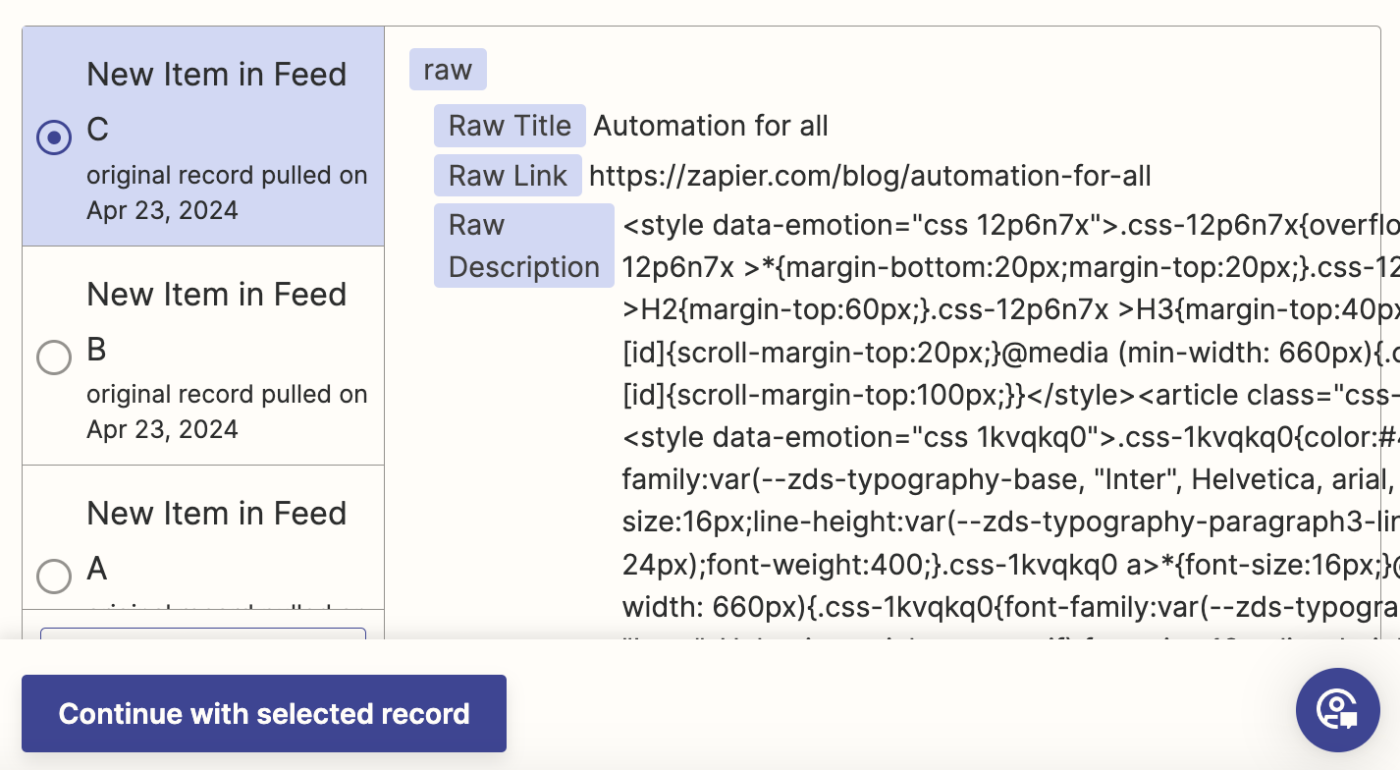
Zapier will pull in recent posts from your RSS feed. Choose one post, and click Continue with selected record. This post will be used to set up the rest of your Zap.
Set up your Facebook Pages action
Now it's time to set up the action—the event your Zap will perform once it's triggered. If you're using the Zap template, these will already be selected for you. Otherwise, search for and select Facebook Pages as your action app and Create Page Post as your action event. Click Continue.

Next, connect your Facebook Pages account, if you haven't already, then click Continue.
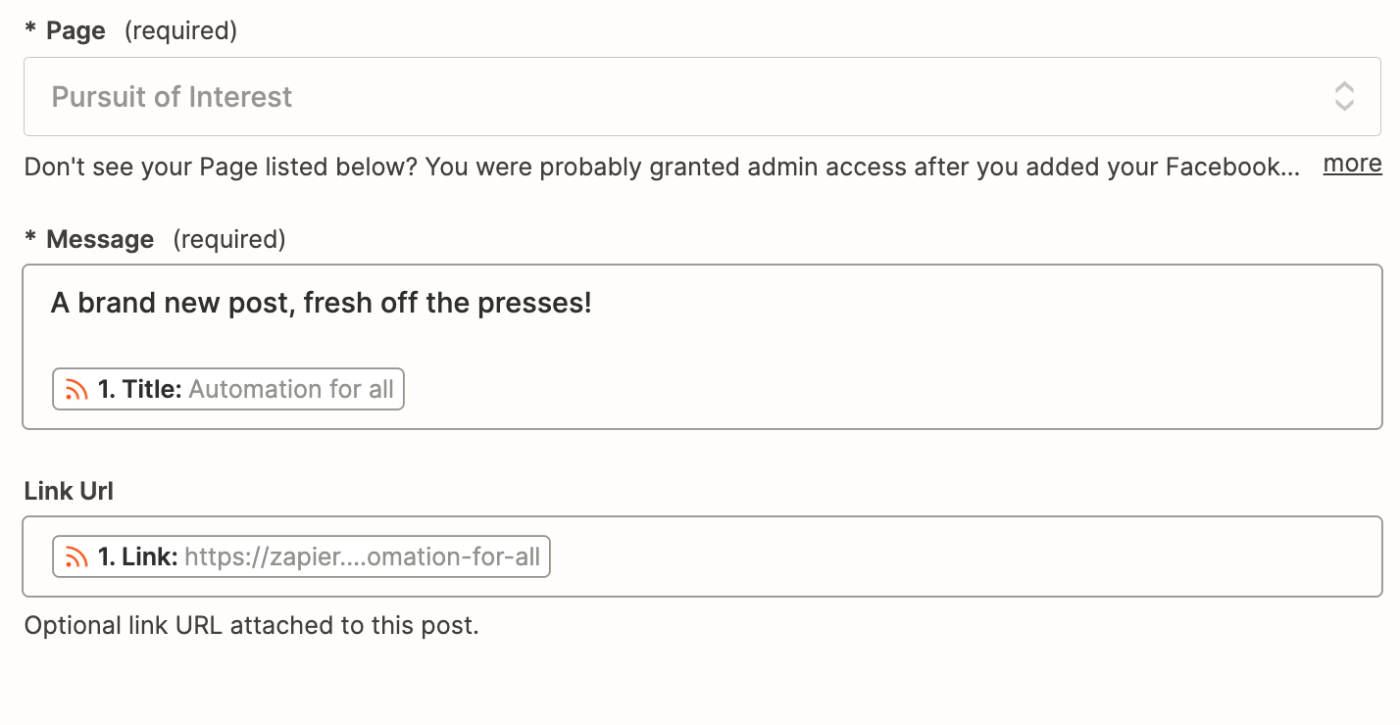
Now, we get to customize the action step. First, select the Facebook Page you want to post to in the Page field.
Next, customize the Message field—this can be a mix of static text and data pulled from your RSS feed trigger. If you're using the Zap template, the Title and Description will be added from your RSS post. But you can remove these and add whatever data you want by clicking in the Message field and selecting what you'd like from the data dropdown.
If you're using the Zap template, the Link data from your RSS post will be added to the Link URL field. If not, you can manually select it by clicking within the field and selecting it from the data dropdown.
Once you're done customizing your action step, click Continue.
Next, click Test step to test your Zap. Zapier should post to your Facebook page. Here's what it looked like for us:
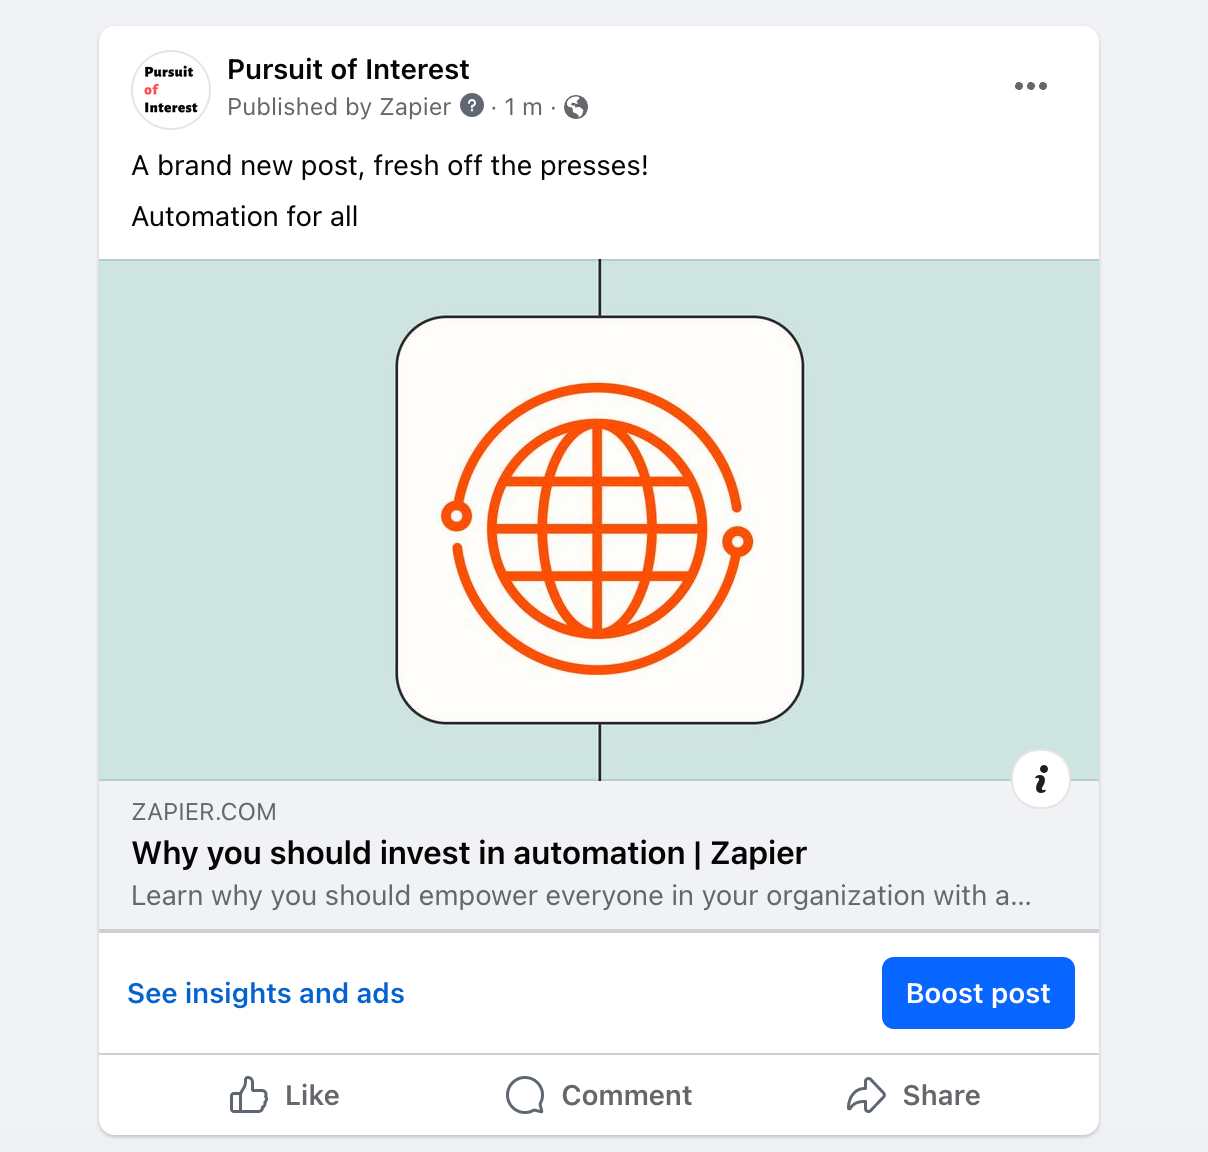
If everything looks right, you're ready to use your Zap. Now, every time you publish a new post on your RSS feed, it will automatically show up on your Facebook page.

